
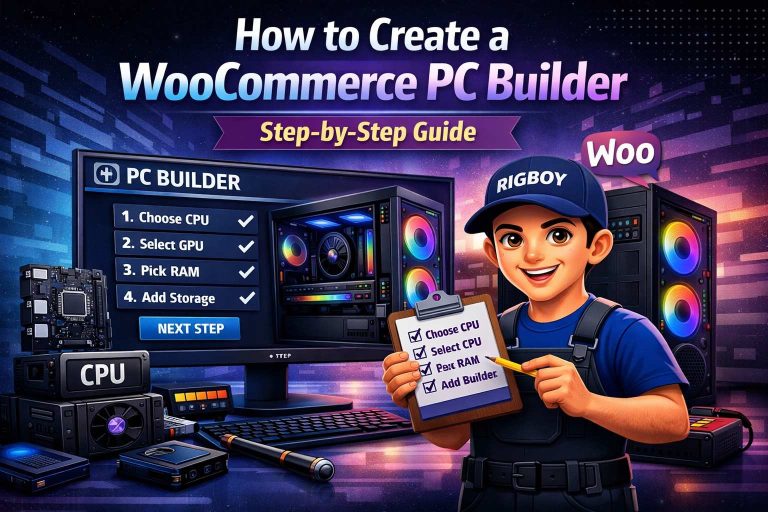
Selling custom computers online can significantly increase your store’s revenue. A PC Builder allows customers to customize their dream computer before purchasing.
Step 1: Install WordPress
Install WordPress on your hosting account.
Step 2: Install WooCommerce
WooCommerce will handle products, carts, and orders.
Step 3: Install Rigboy PC Builder
Upload and activate the Rigboy plugin.
Step 4: Create Component Categories
Create categories such as:
- CPU
- Motherboard
- RAM
- Storage
- GPU
- Power Supply
- Case
Step 5: Add Products
Add your components with images, descriptions, and prices.
Step 6: Configure Compatibility Rules
Set which components are compatible with each other.
Step 7: Publish Your Builder
Add the builder to any page and start selling custom PCs.
Benefits
- Better customer experience
- Higher average order value
- Increased sales
- Lower support requests
Conclusion
Creating a WooCommerce PC Builder website has never been easier with Rigboy PC Builder.